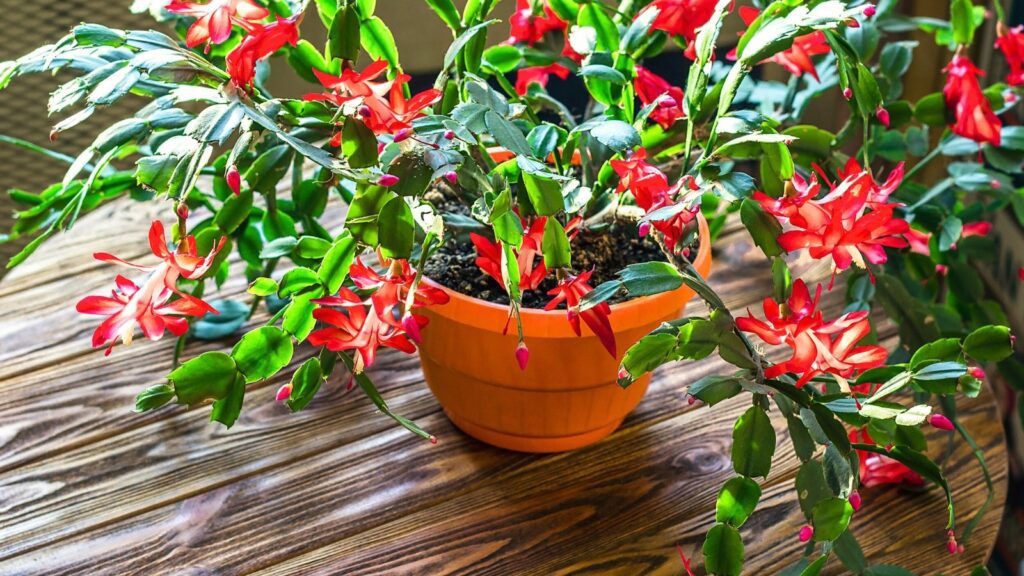
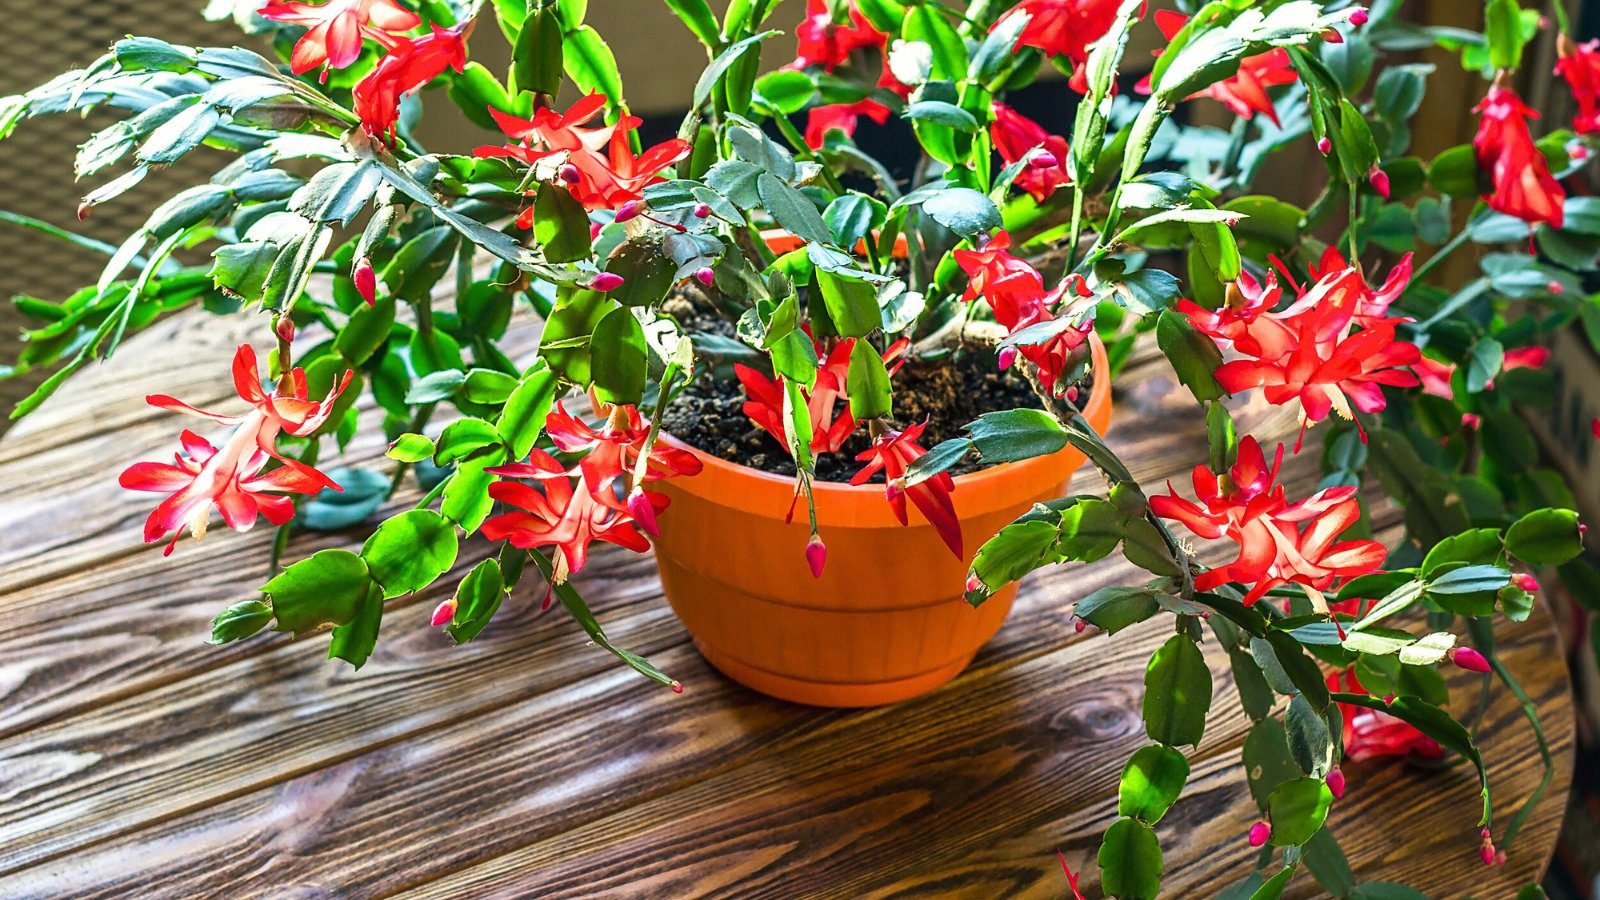
Christmas cacti are delightful succulents that produce tons of large, flashy flowers just in time for their namesake holiday. They are low-maintenance and long-lived and will provide these lovely blooms for a lifetime if you give them the proper care.
Their succulent nature means that they need well-draining soil, and you’ll want to water them sparingly. Bright, indirect light is ideal for these cacti, and there is plenty of it. Fertilizer once per month during the growing season will also contribute to a hearty bloom.
Coaxing your cactus to bloom big time takes some know-how and some strategically timed action. The first action is pruning, and the second revolves around some environmental factors, which I will touch on. The age of your cactus determines how well it blooms, with more flowers as the plant ages. First, let’s talk about trimming a Christmas cactus so that it has plenty of time to recover and return with abundant flowering.


Prune at the Right Time


As with many flowering succulents, the ideal time to prune your Christmas cactus is immediately after it finishes blooming. If you are working with a true Christmas cactus, that will be somewhere in the range of January or February. If you have a similar plant, often referred to as Thanksgiving or Easter cactus, these times will fall to either side.
Essentially, your pruning should take place just after the flowers fade, whenever that happens. The idea is to give the plant as much time as possible to produce new growth. It is on the new growth that the flower buds will form.
How Much to Remove


When it comes to how much foliage you should remove, it depends on your objective. These cacti are easy to prune because of their structure, where the leaves grow in a chain formation. They give you a guide for precisely where to make your cuts, which is in between leaf segments.
It’s important to note that you should never cut all the way back to woody growth. This will stress the cactus and cause it to grow back irregularly. Make sure to only cut the flexible, green portions with soft joints.
If you want to increase branching simply, you’ll want to give it a light trimming. To stimulate growth and not reduce the overall size by much, you can remove two to three leaves per stem. Don’t cut every stem to the same length, as this will create an overly symmetrical and unnatural shape.
If you want to reduce the overall shape and size of the cactus, you can remove up to one-third of the total plant. Don’t remove more than one-third of any branch, and don’t cut into the woody stems.
Removing too much, such as cutting into the woody stems, will be more stressful for the plant. This can stunt growth and drastically reduce flowering. You can always come back next year and trim off a third of the length again to downsize a bit more.
How to Make Your Cuts


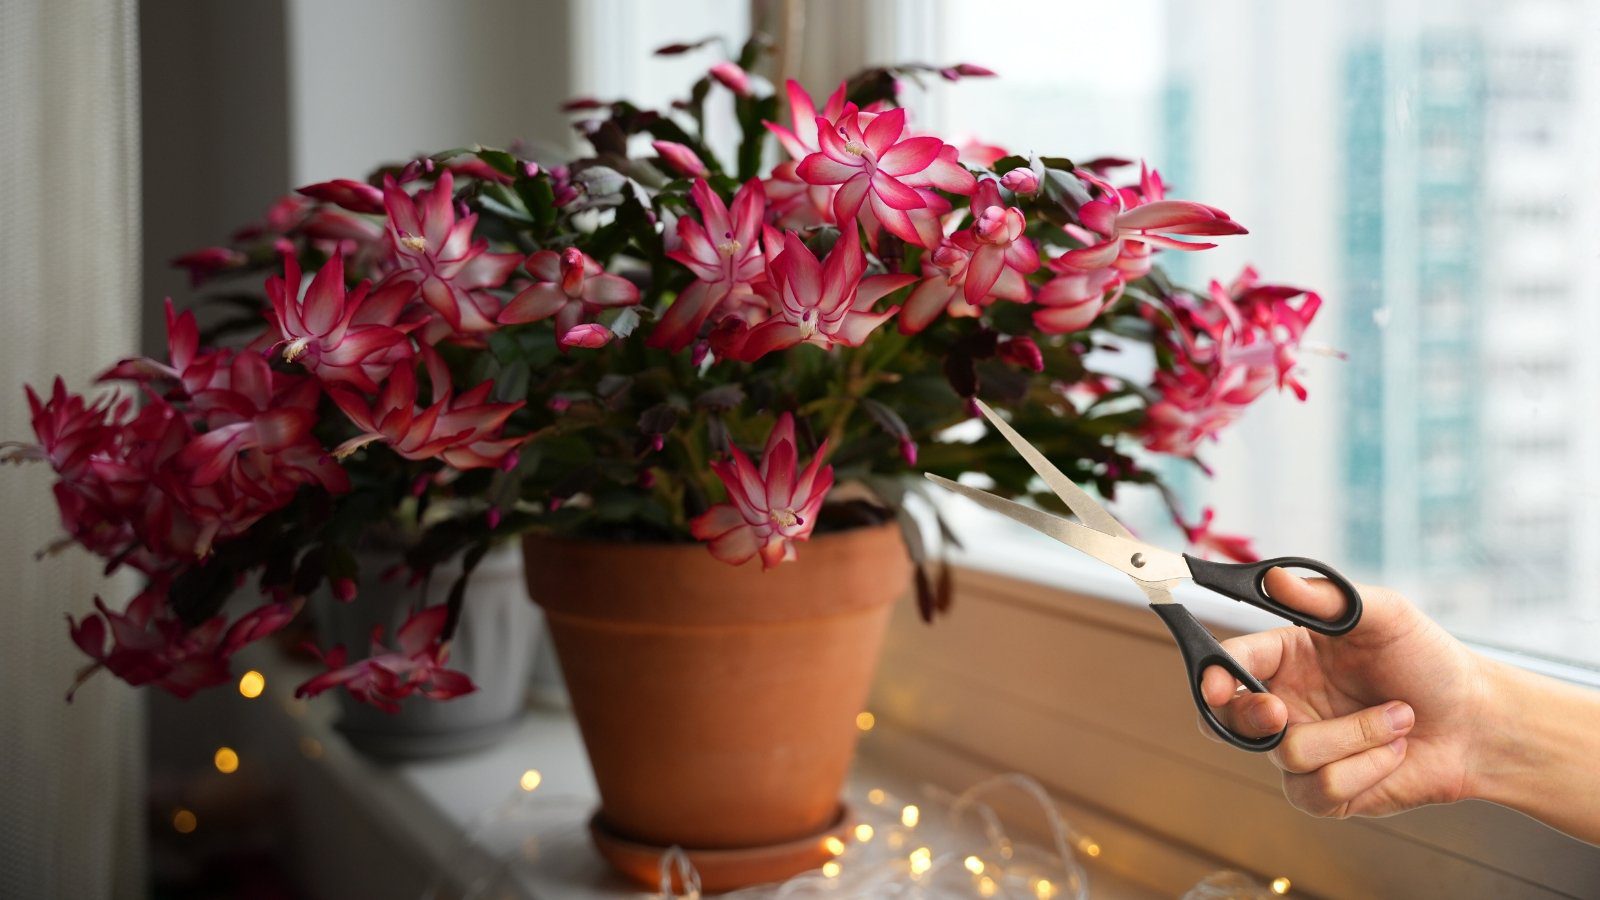
Your Christmas cactus has tender leaves and stems, so you can technically prune it by pinching the leaves off with your fingers. This doesn’t always make the cleanest cuts, but it is effective for this succulent. The way the joints form between them makes the leaves come apart easily.
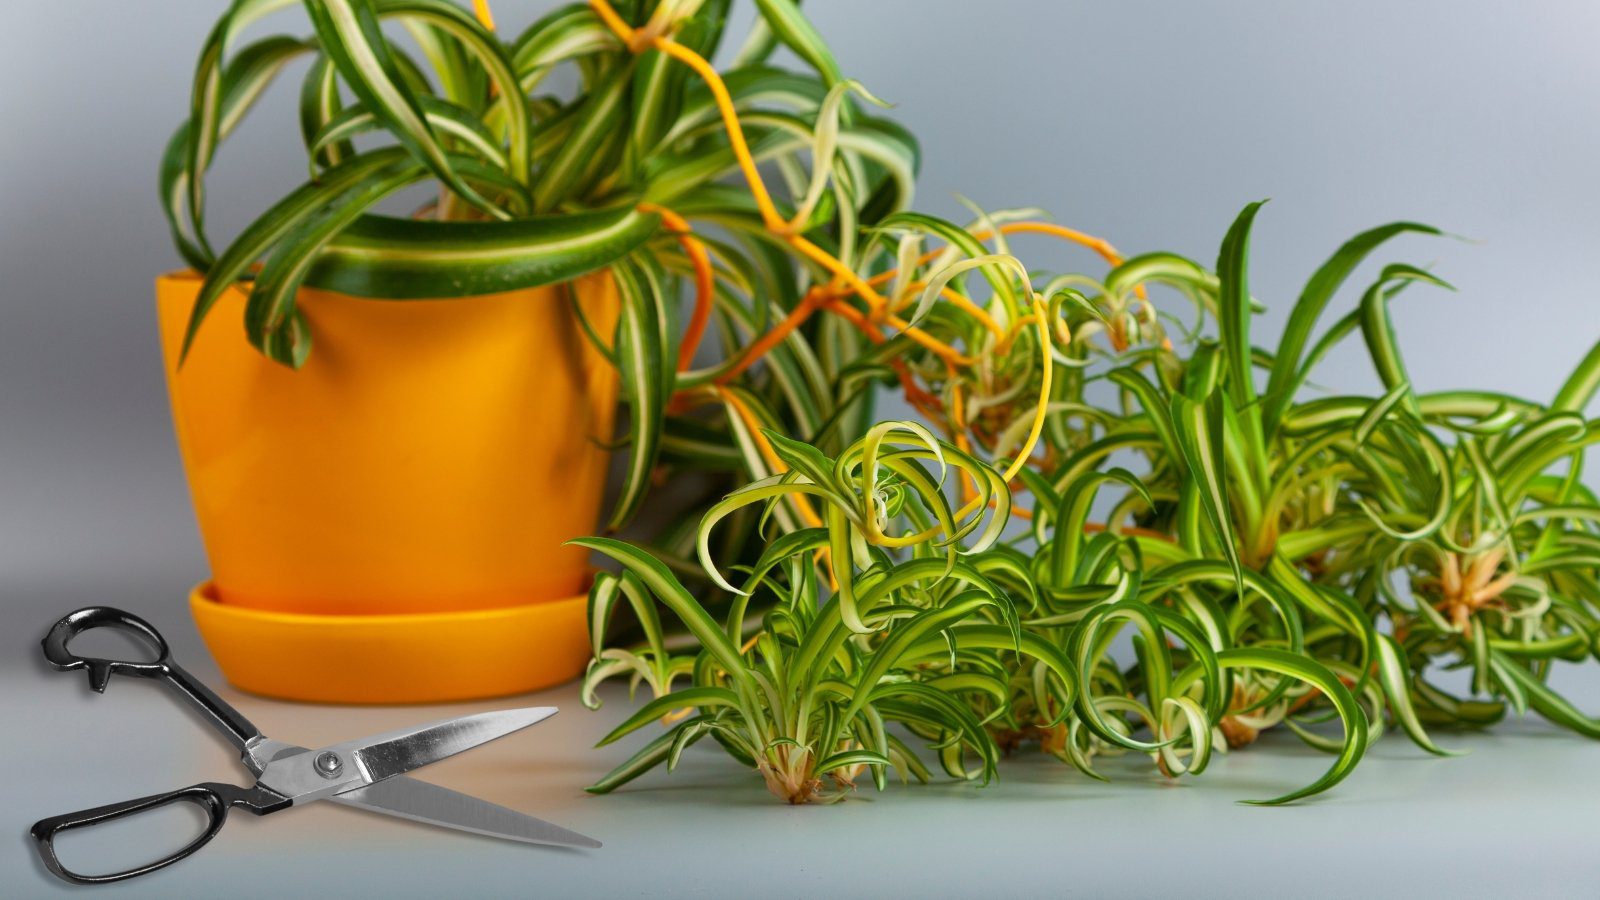
Alternatively, you can make your cuts using a small pair of hand shears or scissors. Make sure that your tools are sharp, and clean them if you’ve used them on another plant. Clean cuts heal fastest, and using clean tools helps prevent infection with fungal or bacterial pathogens.
What to Do With Your Clippings


If you want to prune and be done with it, feel free to dispose of your clippings however you please. You can toss them or compost them and forget about them until next year. If, however, you want to propagate your Christmas cactus, those clippings are about to come in handy for prolific holiday flowering displays.
These succulents are best propagated with cuttings, and they are easy to root. The baby plants will make excellent gifts next holiday season. That is unless you prefer to keep them and build your own Christmas cactus collection!
How to Propagate


You can put those clippings to good use by propagating the plant, creating one or several new beautiful cacti. Follow these simple instructions, and you’ll have a thriving new succulent in no time:
- Take your clippings and cut apart each leaf section so that you have individual leaves. Set these on a clean surface to dry overnight. It’s important to allow the cuts to callous over. This is what prevents your cutting from rotting before it produces roots.
- Fill one or more small containers with a mixture of perlite and sand or other coarse particles that drain quickly. You can mix some sand in with potting mix to give your cactus some nutrients to draw from, but make sure that the mixture is well-draining. The pots should also have drainage holes.
- Water the potting media and allow it to drain so that it is just lightly moist.
- Insert each of your cuttings into the potting media about one-third to halfway, lightly firming the surrounding soil. Don’t pack it tightly; it should just hold the leaves upright. Arrange them evenly in the container, as each of these leaves will produce one to two stems. You want to use enough cuttings in each container so that the end result is a full and bushy plant.
- Water your cuttings into the pot and allow the water to drain again completely. Don’t cover; this plant doesn’t need a ton of humidity, and extra moisture can cause your cuttings to rot.
- Set your cuttings in a warm spot with plenty of bright, indirect light and water lightly when the soil is dry.
- Your cuttings will root in about two months and begin to produce new growth. Once they have substantial roots and growth, you can transplant your new plant into a larger container.
When and How to Encourage Bud Setting


Christmas cactus plants require specific environmental shifts to initiate blooming. If you consider the time of year they bloom, it’s probably easy to guess what those shifts relate to. In the fall, temperatures drop, and daylight hours decrease. If you want to convince your plant to bloom, you’ll want to mimic these conditions.
If your cactus is outdoors, these environmental shifts will happen naturally. You’ll notice small buds beginning to form at the end of leaves, in whichever color it blooms.
When you see the buds begin to form, feed your plant one final application of fertilizer for the year. Make sure it is a formula high in potassium and phosphorus; lower nitrogen is fine. After this, don’t fertilize again until the spring, as it is dormant when it blooms, and fertilizer will desiccate the roots.
Make sure to bring your cactus in before a frost, as it is not cold-tolerant. If you expect the temperature to fall below 35°F (2°C), bring your plant indoors. To set buds, they need about six weeks of temperature shifts between the high 50s and mid-60s (between 10 and 18°C). They also need the decreased daylight hours that go along with those lower temperatures.
If it lives indoors all year, you have two options. You can put it outdoors for several weeks when the temperature shifts to that range of 40-65°F (4-18°C). This is the simplest plan of attack, as it requires the least amount of effort. It’s also fairly foolproof. To reduce stress, move your cactus outdoors a bit sooner when nighttime temperatures are closer to room temperature.
If you want to make this all happen indoors, it takes a bit more work. You’ll need to move the plant to a room that has a window but gets less light than it typically receives. It also needs to be cooler than usual, so placing it near a door that opens regularly will speed up the process. It needs at least 12 hours of darkness, preferably more, to set buds.
Because this can be difficult to achieve in the house, I highly recommend moving your Christmas cactus outdoors in the fall if you live in a mild climate. This is a surefire way to get it to set buds and have a significant bloom. Once you see the buds begin to form, bring your plant indoors and enjoy watching them develop and bloom!


