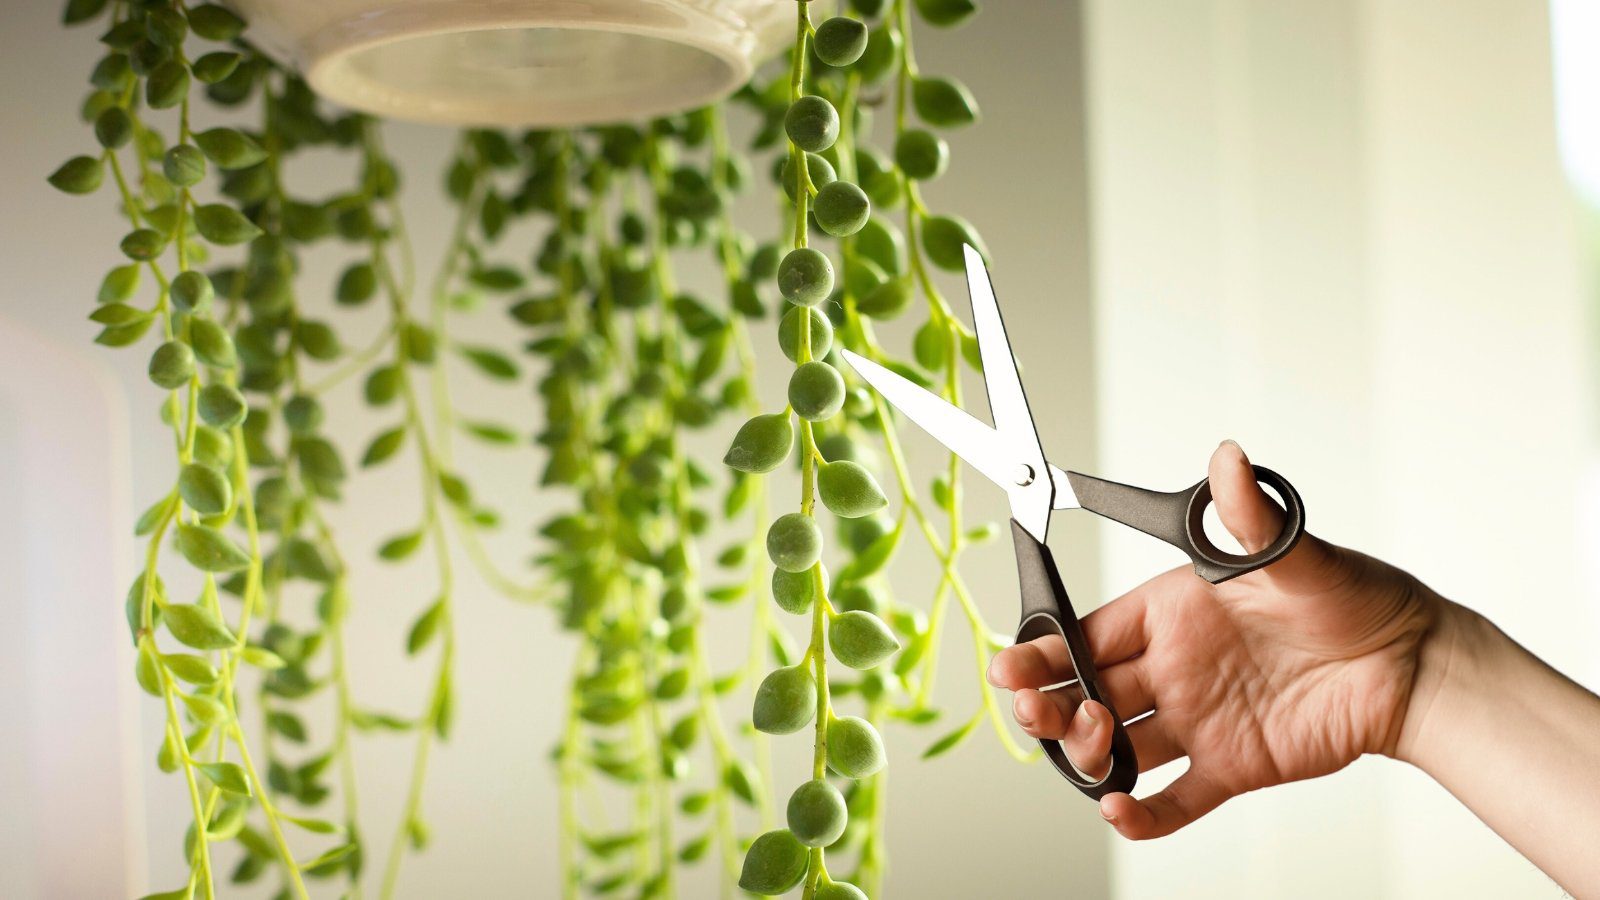
String of pearls is an adorable creeping succulent native to South Africa. There, it grows along the ground, forming dense mats. It’s also a popular houseplant. Most people grow it in hanging baskets where they can enjoy the delicate vines and beadlike leaves.
Over time, this evergreen can grow quite long and sometimes lose leaves, becoming stringy, for lack of a better word. The small, round leaves are delicate and easy to knock off while handling them.
This sun-loving succulent is easy to care for if you know what conditions it prefers. Give it plenty of bright light, well-draining, loose soil, and water sparingly. It will even flower under the right conditions. Let’s learn how to properly prune your string of pearls plant to keep it looking full, healthy, and happy.


Step 1: Prune at the Right Time


Knowing when to prune a string of pearls plant is as important as knowing how. For most plants, including this one, the optimal time to prune is when it is in an active growing phase. There are several reasons for this.
For one thing, pruning while the plant is growing signals for it to branch out from its lower buds, which creates fullness. Each time you cut off a growing tip at a bud, it will branch out, creating to stems where one previously existed.
It also opens up the interior of the plant to air circulation and sun exposure. This is important for growth as well as disease protection. Fungal diseases thrive in spaces where there is little air circulation and a lack of sunlight.
It can rejuvenate the plant, bringing it back to an attractive density if the foliage becomes sparse over the previous year. It also promotes flowering. As a member of the aster family, the string of pearls produces fluffy white flowers with showy purple stamens.
Step 2: Size Up Your Plant


Before you get started, take stock of the changes to your string of pearls since you last pruned it. If you’ve not done so yet, that’s ok. Just take a look at the growth habit and overall shape. Give it some water before you get going to keep it hydrated and flexible.
Notice the size of the leaves and the distance between them. A lack of light can cause them to grow smaller and farther apart. If your plant is becoming leggy, pruning will make a big difference.
These put on new growth from the ends of the vines. This means that the older growth can be overshadowed by new growth, and the crown of the plant will look scraggly. By trimming away some of that newer growth near the top, this part will get more sun and stay robust.
Look at the overall shape and fullness in terms of balance. A beautifully balanced string of pearls is a wonderful sight! Decide how you would like to shape it and if it needs more density or just some cleaning up.
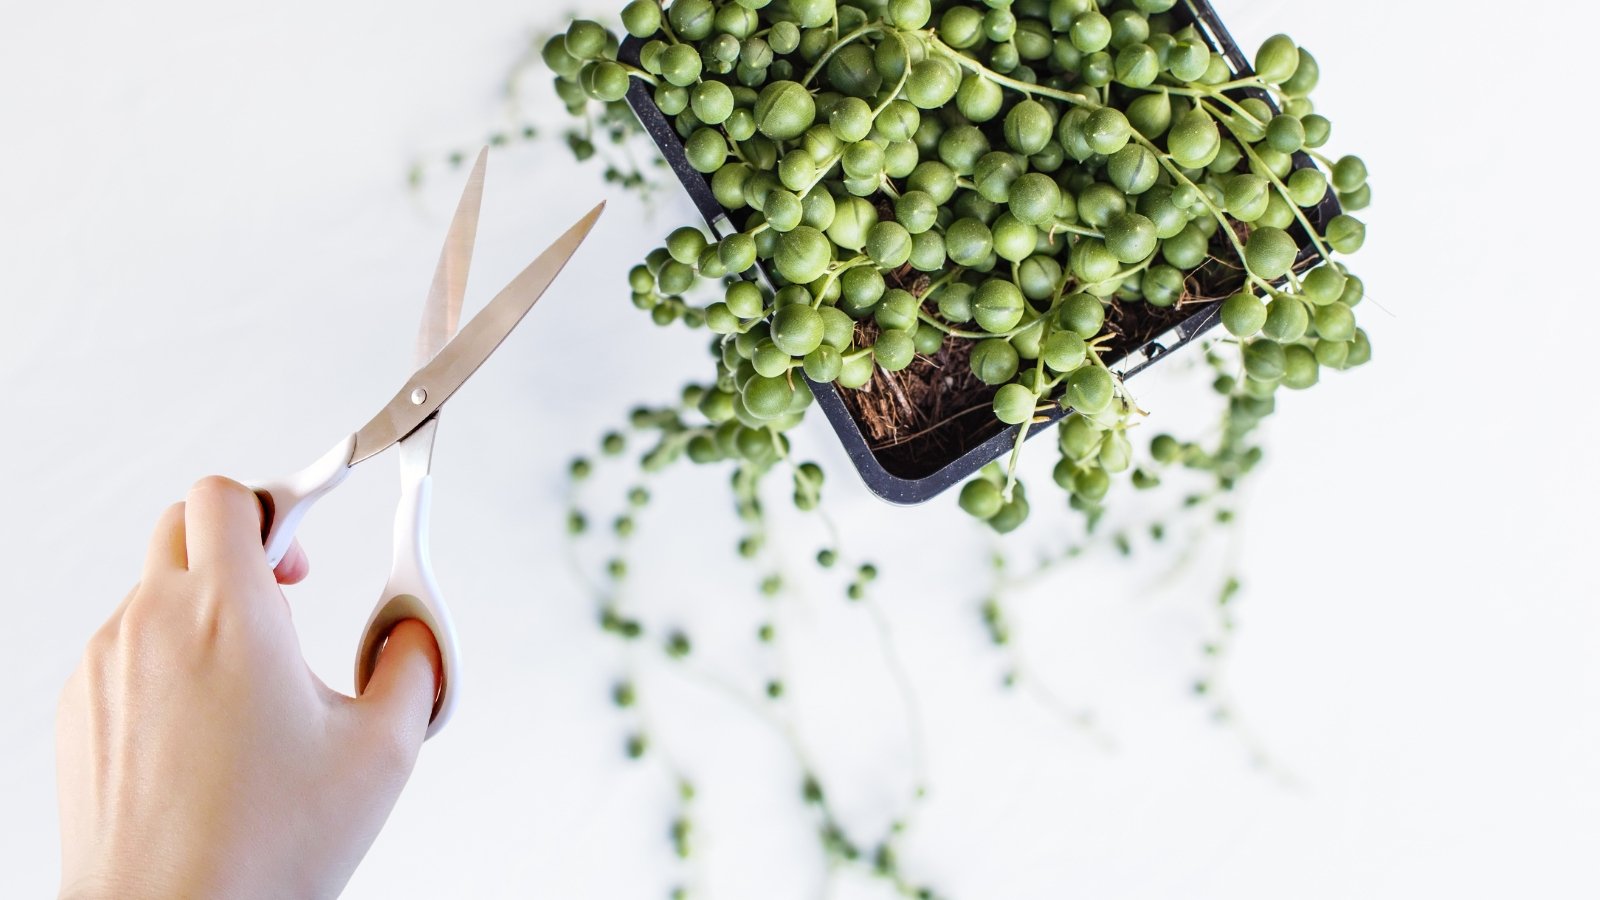

Two important factors to consider when choosing the right tool for cutting are its sharpness and cleanliness. Both factors are easy to control, so I won’t bore you with details. Since the stems of this succulent are very fine, a smaller tool is preferable for making gentler, more precise cuts.
These factors are important because a clean, sharp tool makes a neat, clean cut. This is the type of cut that heals fastest, which reduces the chances of disease. It also helps prevent pest infestation if they are present in the home.


Step 4: Where and How Much to Cut


Begin by removing any dead or damaged portions. These should go no matter what, and you don’t have to wait for the growth phase to do it. Any time you see damaged or diseased growth, go ahead and remove it. This helps it to channel energy into new foliage rather than trying to repair the damage.
If the crown of the plant looks sparse and as though it needs more light, selectively trim some vines shorter to allow light and air to reach this area. Then, identify stems where leaves are sparse. This could be because they didn’t get enough light or because they got knocked off.
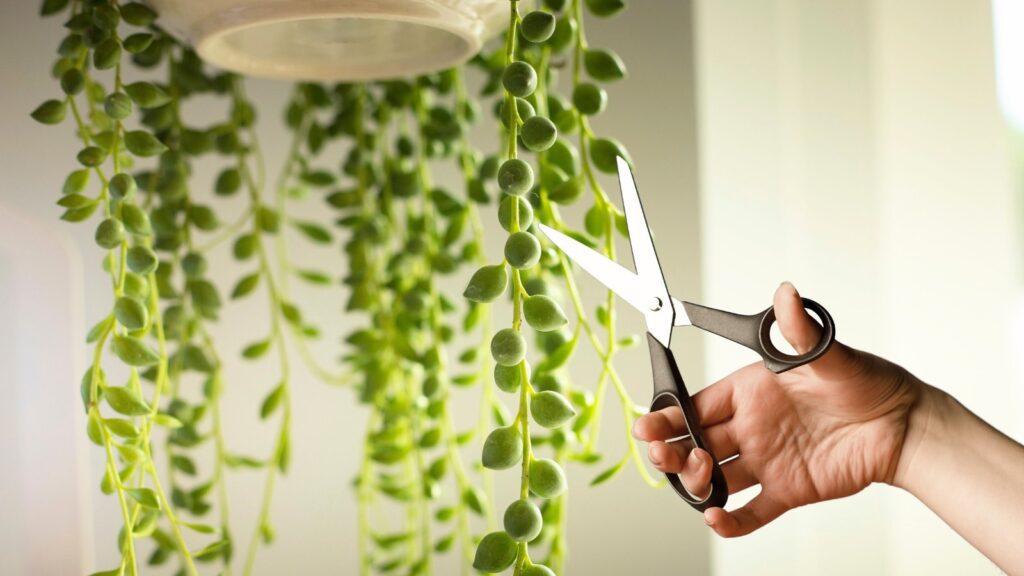
Prune these string of pearls vines, cutting just below a node, which is the juncture from which the leaves row. This is where plants produce new growth, so cutting here will cause the stem to branch, thickening up the lower reaches. Trim about three to five inches from each stem unless there is a need for a more severe trimming.
Step 5: Heal the Cuttings
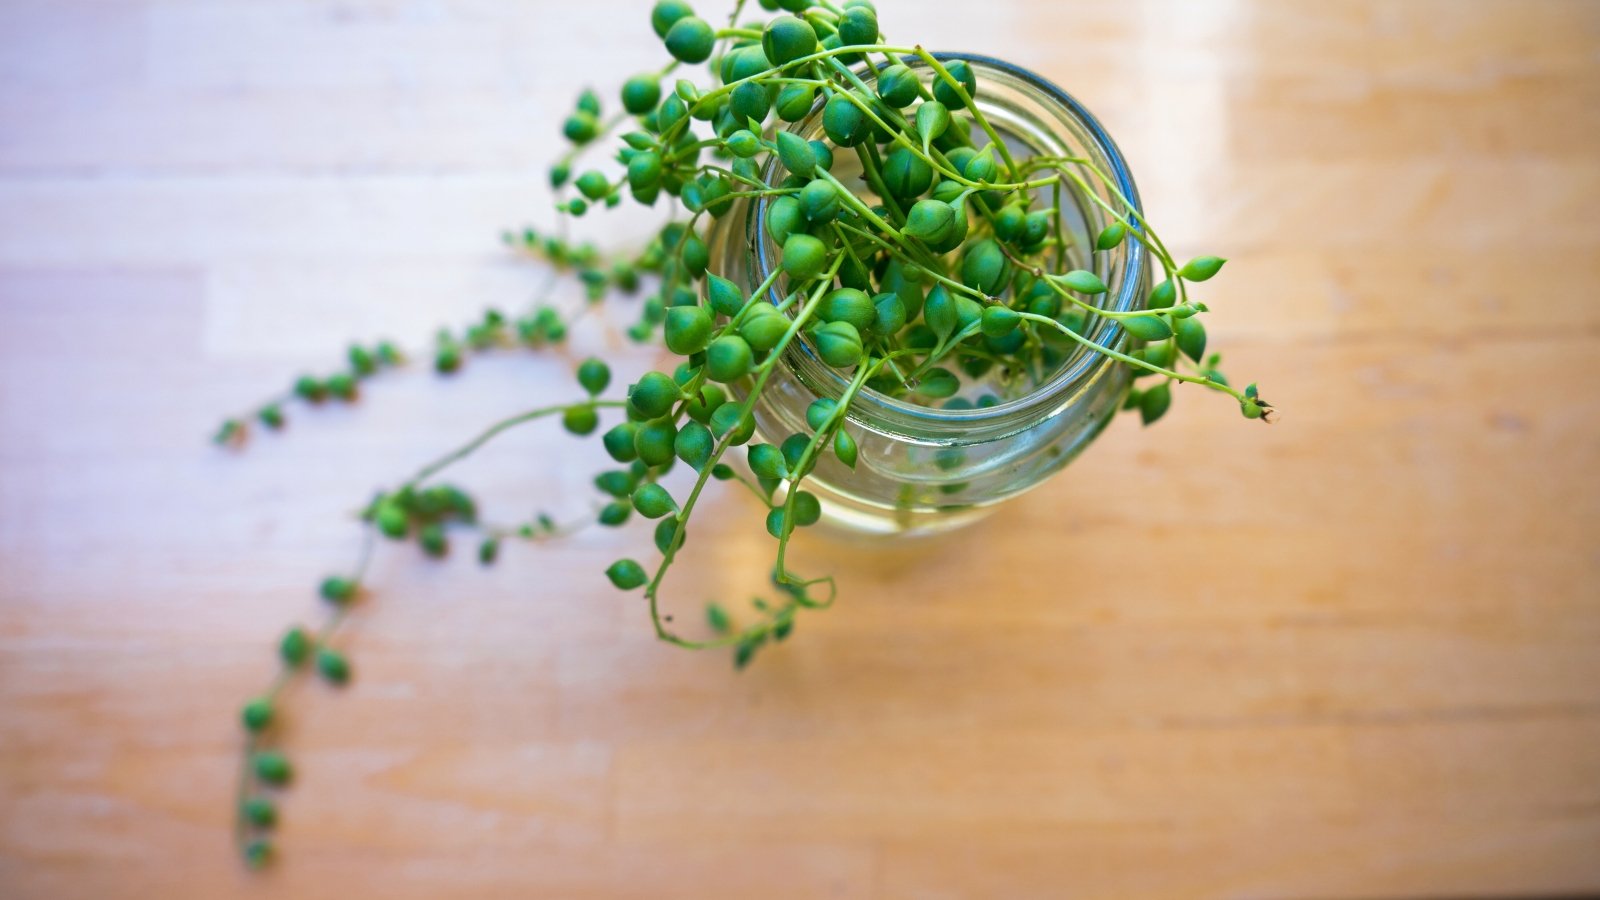

As with most succulents, if you’re going to use the cuttings to propagate, you should allow the cuts to heal before planting. Lay them on a paper towel in a cool, dry space to allow the ends to callous over.
Leave them exposed to the air for 24 to 48 hours so that the callous forms. The purpose of this is to prevent those cut ends from rotting before they root. By allowing them to callous, they are tougher and more resistant to fungus, which is a succulent’s worst enemy.
Step 6: Aftercare
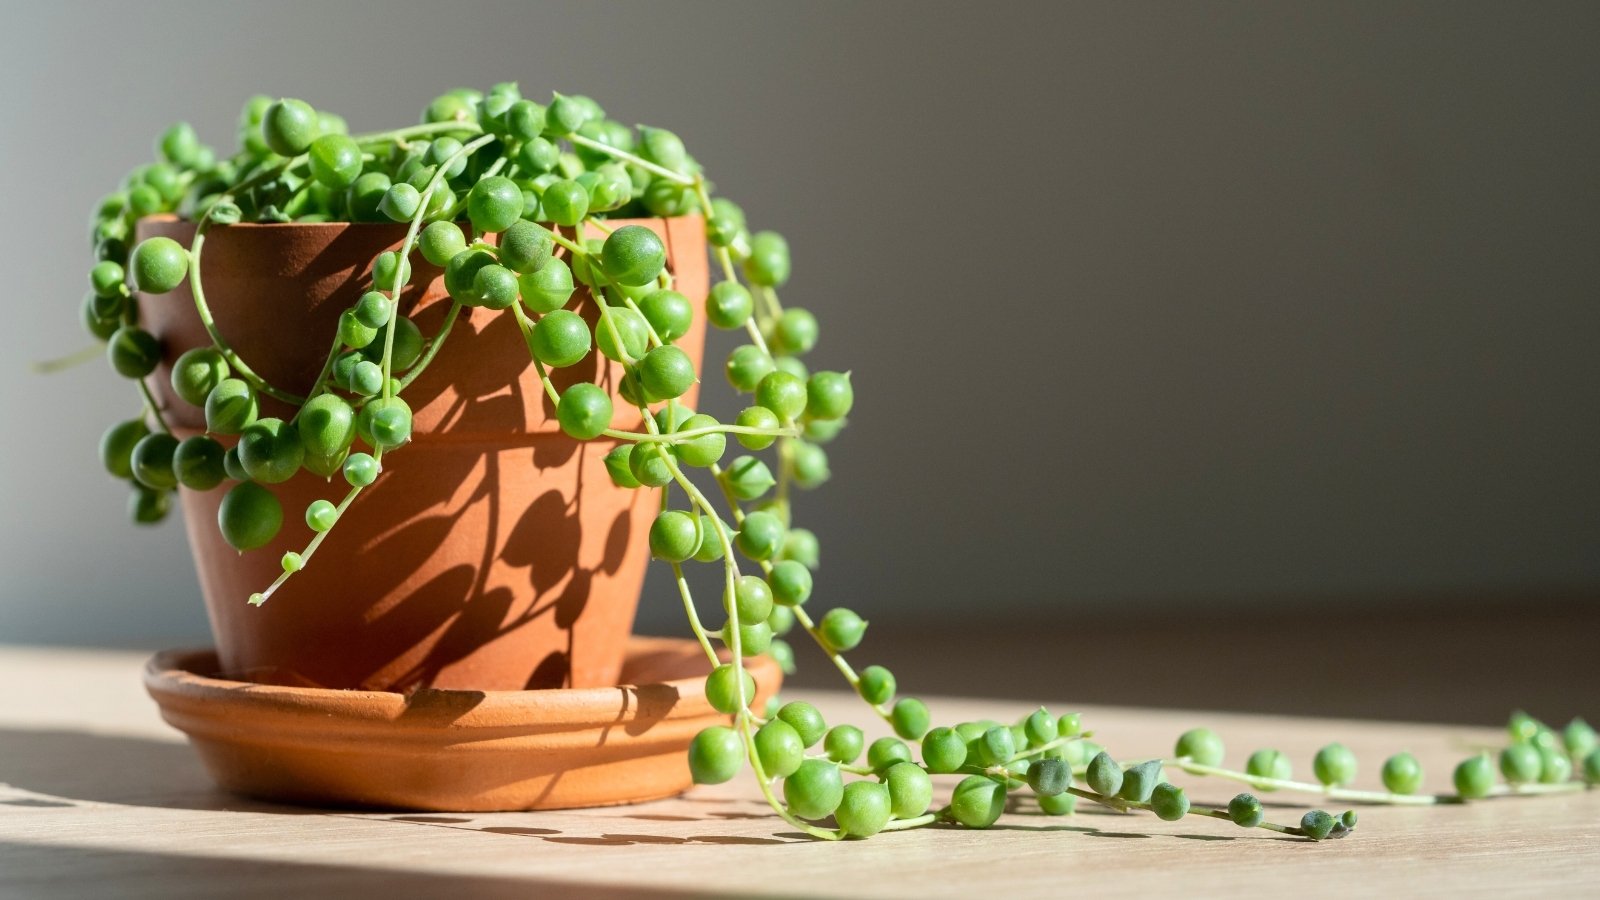

Since you’ve watered it prior to cutting, there is no reason to water it again post-pruning. In fact, you should allow it some time to heal those cuts and wait another week before watering again.
Place your string of pearls back in its warm, sunny spot to acclimate and start working on new growth. If you found that the growth was leggy and sparse, consider finding a space for it where it gets more sunlight. A minimum of six to eight hours daily is preferable.
Step 7: Use Clippings to Propagate


To prepare your cuttings for propagation, they need to heal and callous over. Take your clipping and remove the leaves from two inches closest to the cut end. This exposes the nodes, which is where the roots will grow from. Leave them to dry for 24 to 48 hours.
Prepare a pot with a well-draining potting mix. Cactus and succulent mixes are perfect for your string of pearls. I find it easiest to moisten the soil ahead of time to better hold the cuttings in place.
Dip the end of your cuttings in rooting hormone and gently push them into the soil as far as you’ve removed the leaves. Then, place them in a warm, bright location. Though these plants prefer full sun, leave them in indirect light while they root, which should take about three to four weeks.


